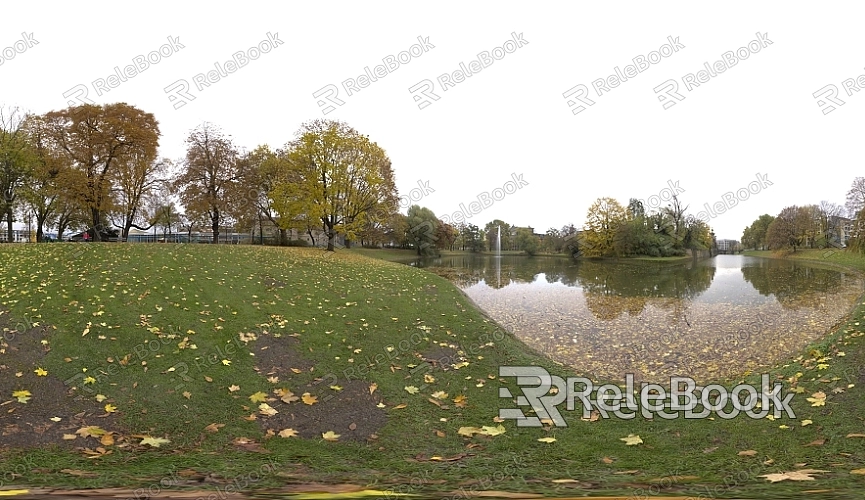
How to Make a HDR Photo in Photoshop
HDR, or High Dynamic Range imaging, allows photographs to display a wider range of brightness levels than standard images, preserving more detail in both highlights and shadows. HDR photos are commonly used in landscape photography, cityscapes at night, and other scenes with high contrast.
In this article, we'll walk you through the process of creating HDR photos using Photoshop, covering everything from shooting to post-processing to help you produce stunning HDR images.

What is HDR?
HDR imaging involves combining multiple photos with different exposures to create an image that includes more detail in the bright and dark areas. This technique allows for a more realistic and natural appearance by capturing a broader range of brightness.
Typically, when shooting HDR photos, a photographer takes three or more shots with different exposures: one normal, one overexposed, and one underexposed. These images are then merged using software like Photoshop, which leverages the strengths of each exposure to produce the final HDR image.
Shooting HDR Photos
Before you start processing in Photoshop, you need to take suitable photos for HDR. Here are some tips for shooting HDR photos:
- Use a Tripod: Ensure your camera is stable to avoid misalignment caused by camera shake during shooting.
- Use Manual Mode: Set a fixed aperture and ISO, and adjust the shutter speed to achieve different exposures.
- Shoot in RAW: RAW format retains more image data, providing greater flexibility in post-processing.
Once you have captured several images with different exposures, you can proceed with HDR compositing in Photoshop.
Compositing HDR Photos in Photoshop

With your different-exposure photos ready, you can now create an HDR image in Photoshop. Follow these steps:
1. Import Photos: In Photoshop, go to “File” > “Automate” > “Merge to HDR Pro.” In the dialog box that appears, select your different exposure photos and click “OK.”
2. Adjust HDR Settings: After importing, Photoshop will automatically merge the images. In the “HDR Pro” window, you can adjust sliders for brightness, contrast, details, and other parameters to achieve your desired effect.
3. Fine-Tune the Image: After HDR compositing, further refine the image by adjusting color balance, adding gradient filters, and enhancing the visual impact of the photo.
If you need high-quality 3D textures and HDRIs for creating models and virtual scenes, you can download them for free from [Relebook](https://textures.relebook.com/). For exquisite 3D models, visit [Relebook](https://3dmodels.relebook.com/), where a wide range of premium resources is available.
Adjusting Details and Exporting
After completing HDR compositing, the next step is to fine-tune the details. Use Photoshop’s curve, levels, or brightness/contrast tools to adjust the image, ensuring highlights are not overexposed and shadows retain sufficient detail. Applying appropriate sharpening can also enhance the image’s clarity and make details stand out.
Once all adjustments are made, save your HDR image. It’s recommended to save the image in a high-quality file format like TIFF or PSD to avoid quality loss during further editing. For web display, you can export it as a JPG, balancing compression and image quality.
Tips
- Avoid Overprocessing: While HDR captures rich details, overusing it can make images look unnatural. Aim to maintain the authenticity of the image with moderate adjustments.
- Choose Suitable Scenes: HDR is not ideal for all situations. For example, in evenly lit indoor photography, HDR may not significantly improve photo quality. Use HDR for scenes with significant light contrast to maximize its benefits.
- Combine with Other Post-Processing Techniques: HDR imaging is just one part of post-processing. Combine it with other techniques like color correction and enhancement to further improve the photo's effect.
By mastering HDR techniques, especially HDR compositing in Photoshop, you can ensure that both highlight and shadow areas in your photos retain rich details, resulting in more impactful images. Whether for landscape or architectural photography, HDR can greatly enhance your work.
If you need high-quality 3D textures and HDRIs for your models and virtual scenes, download them from [Relebook](https://textures.relebook.com/). For beautiful 3D models, visit [Relebook](https://3dmodels.relebook.com/), where a wealth of premium 3D resources is available.
HDR is a crucial tool in photo post-processing, and with proper use and adjustments, you can achieve spectacular HDR effects in your photos.

